Hi, friends! So, I got to take a really fun class at Beaded Bliss last month and I wanted to share some photos with you.
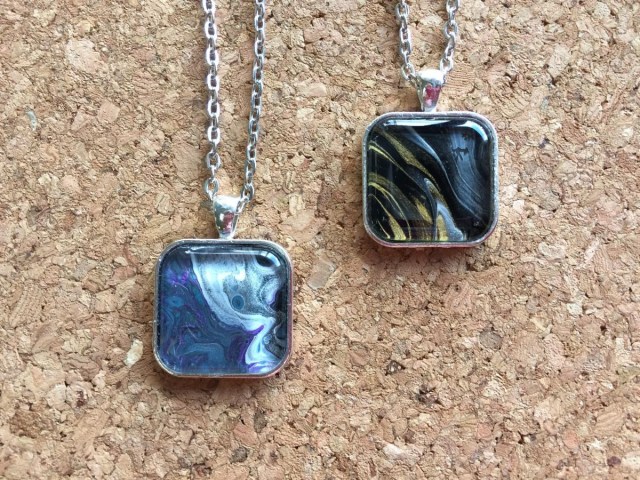
The class was on using acrylic paint pouring techniques to make jewelry – now I’ve been watching acrylic paint pouring videos on Youtube for awhile now, so I was immediately intrigued. The instructor, Barbara Horton, promised to teach us two techniques in one morning – dipping into acrylic pours and using pour skins to make pendants. Check out these two samples she brought us.
She gave us a really thorough run down on mixing paint and using different flow mediums, where to find the supplies, how to reuse and recycle parts of it, and all sorts of fantastic tips and tricks. She was a really clear and helpful teacher – and it was her first class! I was super impressed. I think my favorite part was mixing colors and getting our paint cups ready. Here’s mine right before we did any pouring.

For the first pour, things were pretty straightforward. We poured about half our cup onto some plastic sheeting and then tilted our box/trays around so that the paint ran and puddled into some gorgeous different shapes. We even hit it with a blowtorch to encourage the cells to form. I am absolutely in love with mine.
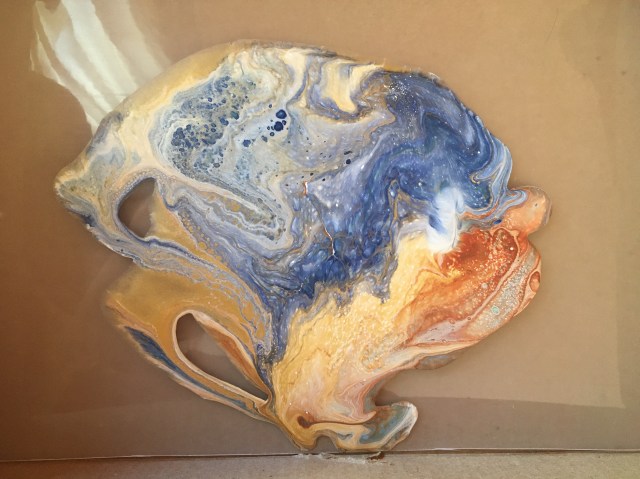
While it was still wet, we dipped a glass cabochon into the paint, so that we could later use that cab for jewelry making. You can see the white-ish spot where I dipped my pendant in the pour above if you look in the 2 o’clock region. I had to let my cab dry and cure fully before messing with it, but look at the photos I got of it today! I can’t wait to do something with it – I’m actually thinking about using it for embroidery!


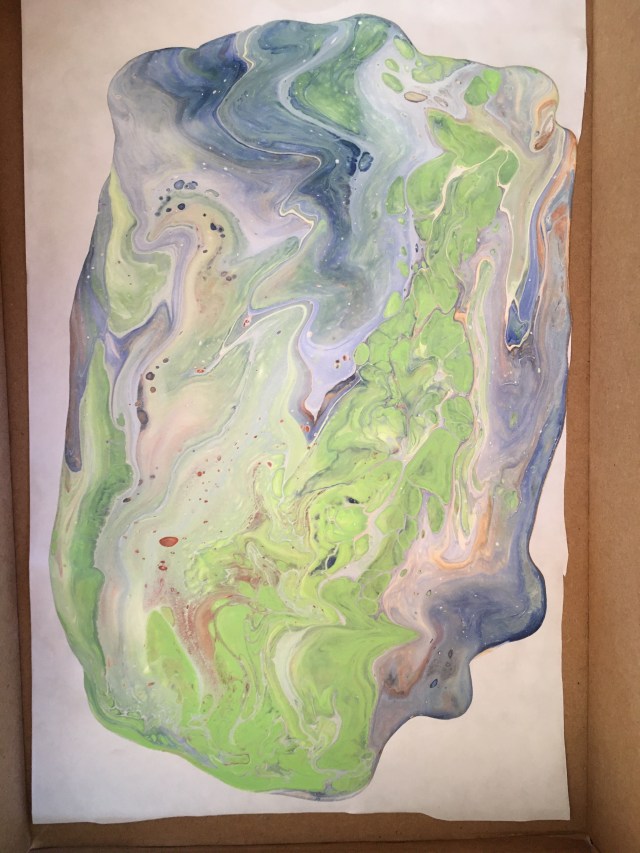
Then, we did a flip-cup pour. We took the paint left in our cup and literally turned it upside down on our plastic sheeting. Then we dragged it a bit, and popped it up to start tilting our paint again. My second batch looks completely different! And it was still from the same cup! It was mesmerizing to watch.
For the second technique, we couldn’t use our paint until it was completely dried and cured, so Barb had us set ours to the side and she let us use dried skins from her own past projects to show us how to fashion the dried paint into pendants. This is what I made with one of her leftover paint skins to learn the technique. I’m in love!

My paint skins are finally completely dried and I even managed to keep the cat away from them while they were curing! Now, I just need to find the time to sit down, peel them up, and find the best spots to make into pendants. I am so excited to play around with this new technique.
Another fantastic class at Beaded Bliss! Thanks so much to Cathy for hosting and to Barbara Horton for her fantastic instructions. I had a blast.


Acrylic Pour looks like a really fun process!!!
LikeLike